Tuesday, April 14, 2015

St. John's Mini Road Trip! Part 2

I had an absolutely wonderful time in St. John's! I met a new mini-friend Wanda Waterfield, bought some much needed crafting supplies and was (still am) very inspired! This will be a longer post, but I have many beautiful pictures to share :)
Jelly Bean Row! St. John's has some really colourful houses!
In my last post I introduced you to a fellow miniaturist, Wanda Waterfield. After meeting her, seeing her mini-craft room and of course her minis, I left feeling inspired! Also when I left Wanda gave me some beautiful parting gifts and many items that I can use in current and future projects. Here are some pictures of some of the wonderful things she gifted me. Not included in the pictures are many floral making items, printables and so much more.
An overview of some of the gifts from Wanda
Button holder with removable lid, some vegie crates and wine sign!

Adorable lighthouses!

Flower potting crate!


Oranges, lemons and limes for drinks!
Thank you Wanda. Again you can check out her blog at http://sominiprojects.blogspot.ca/  , and her Pinterest account at https://www.pinterest.com/wandawaterfield/ .

It was nice getting to St. John's to show some international students around beautiful St. John's and of course it was nice have very little snow (considering it snowed the day we left Pasadena!) and lots of sunshine (which I think is kind of rare for St. John's!). I have definitely been inspired by the historic buildings which include houses and lighthouses!

The following are some pictures that have inspired me to finish up current projects and of course start some new ones! 
This apparently was the house used in the TV production of The Republic Of Doyle!
Jelly Bean Row!

 
St. John's random house shots!

Again some random house shots!

Hostel we stayed at!
Fireplace in our hostel room!

Fireplace in our hostel's main office!
I have shown the above pictures for two main reasons. First, I am currently working on a store front window display and I plan to decorate it similar to the houses (and the shops look basically the same). I will update the progress soon :)

Store front window display. Designed by Linda Laurenson. Bought while on vacation in New Zealand!
Second, I want to create either a full house or room box to emulate this style of house and incorporate the architectural designs similar to what is shown in the pictures. Here are some more pictures of houses that have the wheels turning in my head!

Random house pic! Sorry it's crooked, but the car was in motion!

Another house random!

Another house random!

Another area we visited was Cape Spear which is a National treasure. Cape Spear hosts two lighthouses, and is the most easterly point in North America!  It was sunny, but don't let that fool you! It was very cold!  While I was there I was making observations about paint, colour, things surrounding the lighthouses (like buildings and landscape), and not to mention I was taking measurement of siding on the older lighthouse.

Cape Spear! I think this is the older lighthouse.

Yup that's me! Cold but happy to be there!

This lighthouse is stunning!
Real Good Toys 1:12 scale lighthouse. Still a work in progress!
As you can see my lighthouse in still a work in progress. I will do some future blog posts showing the progress in stages. I am hoping to incorporate a lot of landscaping similar to what I saw at Cape Spear!

Please share any comments or suggestions. Happy mini-crafting and stay tuned!


Monday, April 13, 2015

St. John's Mini-Road Trip! Part 1

Last week was Easter/spring break, so I decided to do a mini (no pun intended!) road trip to St. John's, Newfoundland, Canada. The main purpose of my trip, aside from spending some quality time with my mom, was to do some shopping (mostly craft/mini materials), and to take a group of Korean international students to visit the wonderful and historic city of St. John's.

View of St. John's taken from Signal Hill
The main purpose of planning my trip to St. John's was to pick up some crafting supplies, such as polymer clay and other tidbits. Honestly, although exciting to shop for them, not so exciting for you. So I will leave it at that! lol

Just before I left my hometown of Pasadena, Newfoundland I was introduced to a wonderful lady and miniaturist, Wanda Waterfield, online. After making contact with Wanda. I found out that she lives in the area that I was going to be visiting, so she invited me into her home for a visit and to show me her minis.

When I walked into her minis-room I literally had to stop and take a deep breath. Her work room is amazing! Not only is her craft room well organized and tidy, but seeing her minis made my jaw drop. I can honestly say that I have had read everyone of her blog posts and was very delighted to see her projects in person.

Her minis are amazingly elegant and very realistic. I am going to share some of the pictures I took (with her permission) and then share her blog site and Pinterest site.
 
Wanda's garden shed
Side view of Wanda's garden shed. Love the fence!

Another side view of garden shed. Love all the little details!
 
Close up of some flowers at the garden shed. Sorry for the bad photography, but can you see the cute little butterfly?
 
Another close up of garden shed. I love the bird bath.

Wanda's bakery!
 
A group project Wanda participated in. I love the store!

Needless to say this was a highlight of my trip! It is definitely worth visiting her blog site to see the progress of her minis and learning more about her mini projects!

Her blog site can be found at: http://sominiprojects.blogspot.ca/
Her Pinterest site can be found at: https://www.pinterest.com/wandawaterfield/

It was nice getting out of the yucky, snowy weather here in Pasadena to the sunny, not as much snow in St. John's. I felt rejuvenated and inspired. I stayed downtown where there are many historic buildings and beautiful old homes. I have decided to incorporate many design ideas into some of my mini projects, and perhaps plan a new project based on an historic home.

Stay tuned for St. John's Mini-Road Trip! Part 2, where I will post some of my inspirational pictures and share some photos of Wanda's lovely parting gifts.

Thanks again to Wanda for such wonderful hospitality and beautiful mini gifts :)

Monday, April 6, 2015

Pizza Party!

Today I thought I would share some mini pizzas and soft drinks I made!

I am by no means an expert and I still need lots of practice.

I typically only work in 1:12 scale, but I do make some 1:6 scale items when selling at a local market or craft sale, as 11.5 inch dolls seem to be popular for younger people (and maybe some older people, too!) I also wanted to practice with the bigger pieces until I got the hang of it, but I still need much more practice. I have also considered making some of these into charms which I think would go over well with younger people.

1:6 and 1:12 pizzas!
As you can see, I made 5, 1:6 scale, and 1, 1:12 scale, pizzas. Plus some 1:6 scale soft drinks. I think I've got the shading part on the pizzas okay, but I think my liquid clay needs a little work! I definitely need to improve my pepperoni making, or maybe just make cheese pizzas in the future! Also, the smaller (1:12) pizza could also work as a real life personal size 6 inch for a Barbie size doll.

The soft drinks are cola, orange and sprite! I think the orange pop is a little off in shading and maybe perhaps the cola is too dark. I made them using FIMO liquid clay mixed with chalk pastels for shading and then added vase filler for ice cubes. Overall I like them, but I they could use a bit more tweaking!

Here are some more pictures that focus more on individual pieces.
1:6 pizza and 1:12 pizza


As you see from the close up pictures, I definitely need more practice!  Please comment and give suggestions on techniques that you use that could help me improve :)

As I practice and make more I will share pictures and how I made them :)

Stay tuned!

Sunday, April 5, 2015

Happy Easter 2015!

Happy Easter Everyone Near and Far!

I hope everyone had a great Easter. This year instead of buying and eating chocolate, I decided to make an Easter cake!

Happy Easter!
My mom baked an Easter bunny cake for us when we were kids, but I never thought about making one in miniature until I watched a joannesminis Easter bunny cake video on YouTube. I will post the link to her video at the end of this post.

The materials I used (I hope I didn't leave any out):
polymer clay (white and black)
pink (and purple) 3D paint
purple and pink craft sand
card stock
plastic sheet from packaging
craft foil (easier to work with and doesn't tear easy)
x-acto knife
clay blade
scissors
disposable nail file
Modpodge matte finish and brush for application
tacky glue
clay roller
circle clay cutters (I used 3/4" which works out to a 9" real life cake)
craft mat, cutting mat and ceramic tile for clay
Some of the materials I used!
Making sure all surfaces are wiped clean (to avoid very noticeable little dust particles sticking onto the clay), I rolled out the clay and cut using circle clay cutters. For each cake you need to cut out 2 circles. One circle stays as it is and the other circle you need to cut out 2 ears (using the circle cutters makes it so much easier) leaving a third piece as the bowtie.
2 cakes: Leaving first one as is, and the 2nd using cutters cut out 2 ears leaving a bowtie.
After baking according to polymer clay instructions and having let it cooled, I sanded the pieces using a nail file to make it smoother and to give it a cleaner look!
Easter bunny cakes after the clay was baked and before or after sanding! (can't tell!) The bigger one is for a 12' doll.
Next I painted the top inner part of the ears with the 3D paint and added craft sand. I used pink paint and purple craft sand on some and purple paint and pink craft sand on others. Allow this to dry and shake off excess. Then glue the remaining top surfaces and side surfaces and sprinkle with white shredded polymer clay. Sorry, I don't have any pictures of this part.

I wanted to use the multi-purpose adhesive and wall size product that was used in joannesminis video, but I couldn't find any at the local hardware store :(    So I am now on the lookout for some. In case you haven't watched the video yet, the multi-purpose adhesive and wall size product basically looks like miniature shredded coconut. Unfortunately, my coconut doesn't look as good as I had hoped it would.

At this stage of the craft you can basically decorate anyway you'd like. Actually you can decorate it anyway you'd like for the ears too! I haven't decorated all of them yet, but for the first few I used licorice. For the licorice I rolled black polymer clay into snakes and cut pieces for eyes, nose and whiskers :) I was going to use 6 whiskers in total (3 on each side of his face), but I found that it looked to crowded and gloppy.

For the tray (or cake plate, not sure the proper baking term) I cut pieces of card stock and covered it with craft foil. Craft foil is not like kitchen tin foil in that it doesn't tear as easy and it is lighter (more like a gum wrapper consistency).

As a finishing touch, I made some boxes with plastic windows to showcase the Easter bunny like they would do at a bakery.
Help! Let me out!
Did anyone order a bunny cake?

Happy Easter!
I will get around to showing more mini-New Zealand pics as soon as I get the items photographed. Plus, I have some projects in progress I plan on sharing with you. If you have any questions or if you have anything Easter related or otherwise you would like to share, please post in the comments below.

Stay tuned!

Joanne's Minis Easter bunny tutorial YouTube video  https://www.youtube.com/watch?v=HzANYXVvuM4

Friday, April 3, 2015

Mini New Zealand! What else could a girl ask for?

I know it's been a while since my last post, but I was a wee bit busy. My schedule went like this: work, 1 month vacation, work, getting ready to move back to Canada, moving back to Canada and getting resettled and of course minis! I will share more in later blog posts.

So let's start with my New Zealand vacation! :)

While I was on vacation in New Zealand for 3 weeks last August (2014), I wanted to find some mini shops and look for things that were locally made. Through my research  I was pleasantly surprised to find a cute little miniature shop called The Enchanted Garden, owned by a wonderful lady, Linda Laurenson (aka Gertie), who is also is a miniature enthusiast!

Gertie graciously opened up her home (and miniature shop) to me. She invited me into her home and we ate fish and chips and made minis! It certainly was a highlight of my vacation and ranked up there with swimming with dolphins in the ocean.

Welcome to the Enchanted Garden!


The Enchanted Garden shop!


Workshop!
 
While we created minis, Gertie taught me some wiring tips and she assisted me in creating some polymer clay local foods.


Here are some samples of some meat pies and sausage rolls I made. I know not made by a local, but assisted by Gertie and inspired by New Zealand!


Meat pies and in the very back a chocolate bar with a bite taken out made by Gertie
I will zoom in more on the chocolate bar once it has been unpacked.


Side view of meat pies and sausage rolls I made.
While I was visiting The Enchanted Garden, I did make some purchases (of course). I bought a window display kit (designed and made ready by Gertie), some bowls and supplies I couldn't find in Korea. Plus Gertie had not only given me the gift of friendship, her time and her supplies while we crafted, but she also gave me some darling parting gifts. Because I had taken these items back to Korea and then had them shipped to Canada I wasn't able to take photos to share right away. But I promise to share more gift photos in future posts along with more information on The Enchanted Garden.

The following is a sample of the window display kit I purchased. I will show my progress in future posts.
 
Shop window display kit I bought. Designed and made ready into kit by Gertie Laurenson
 
So a BIG mini-thank you to Linda for her hospitality and making my vacation to New Zealand awesome. More pictures to follow!
 
Happy Easter and stay tuned!


Tuesday, September 30, 2014

Cute Miniature Finds in Gwangju!

While shopping downtown Gwangju, South Korea a couple of weeks ago, I stumbled across a really cute new store named, 별헤는 항구석, which means, in a corner of a room counting stars (as in gazing at the stars). Because of the literal translation, it makes it a little difficult to give an exact translated name. So I will call it Star Gazing from the Room! Nonetheless it is a cute little store!

 It was so cute I just had to go in!

I came across some really cute miniature items; laptop computers and soft drink products.


These laptop computers will add a finishing touch to any dollhouse or room box display.

Of course what dollhouse or miniature scene would be complete without a soft drink!


Coke on ice!
 
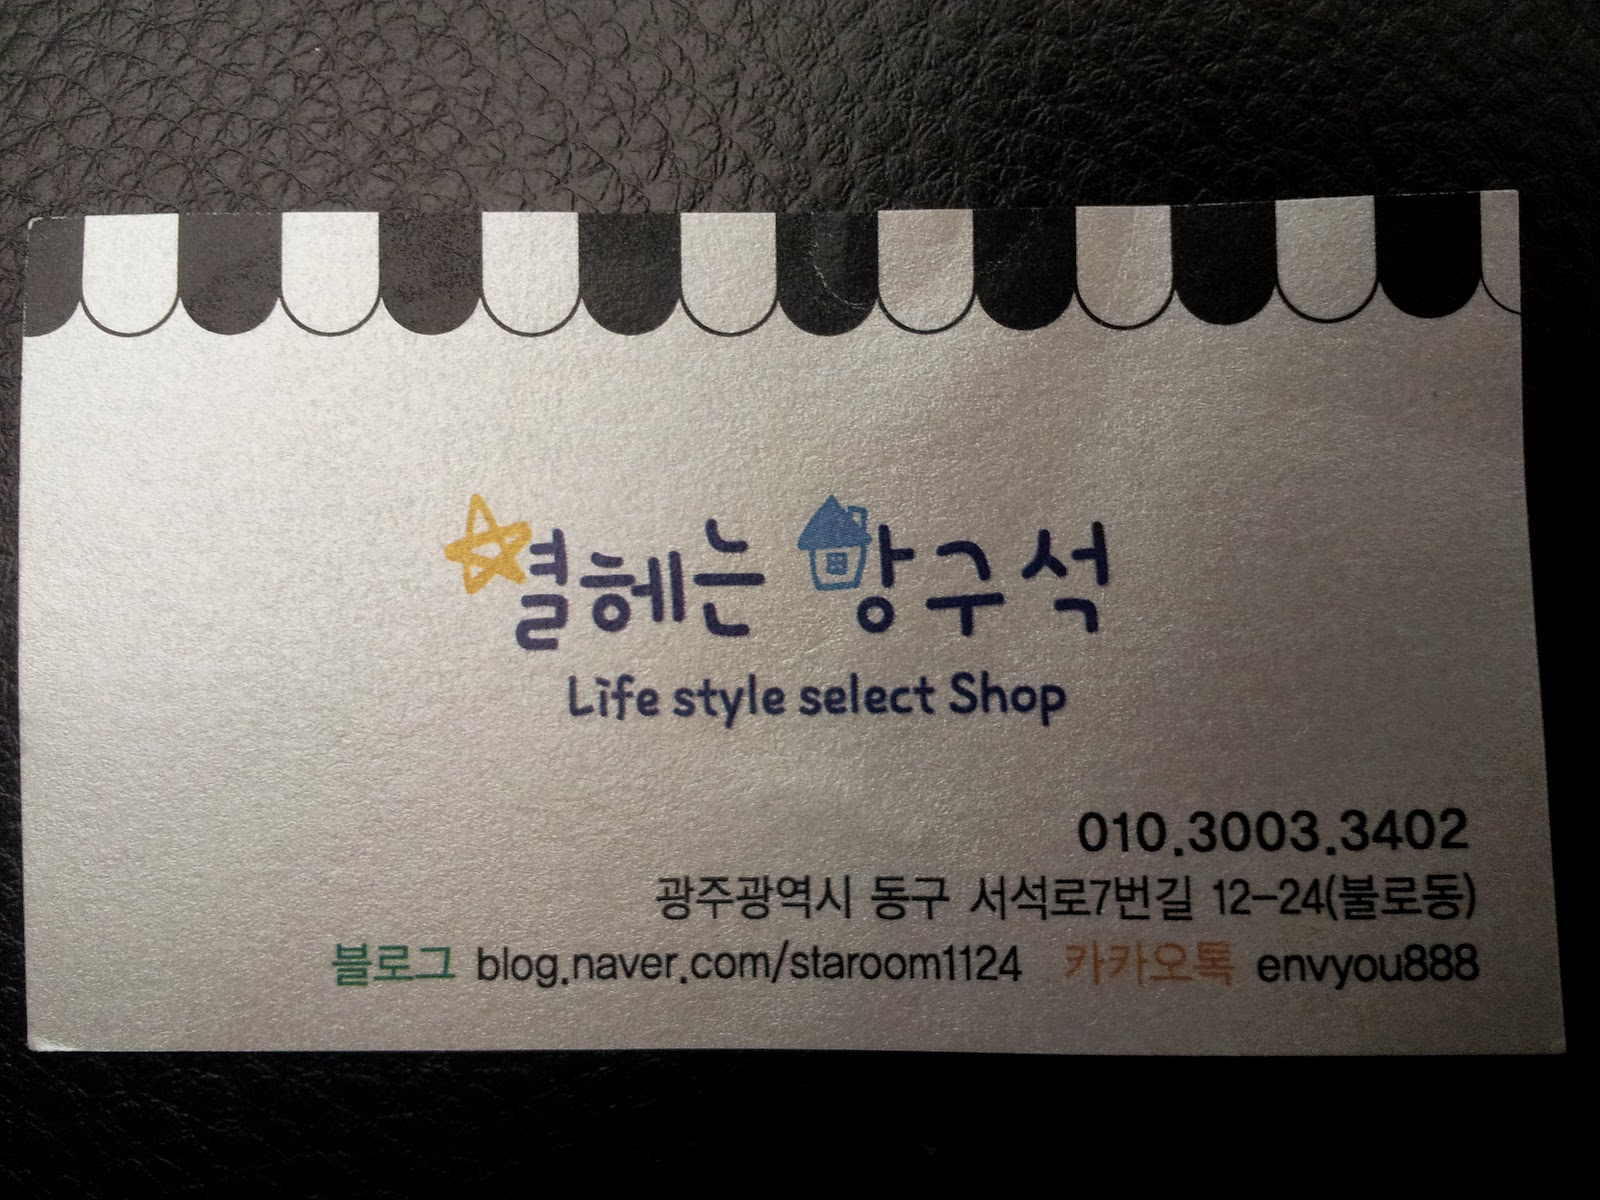
For store information please see business card below.
blog.naver.com/staroom1124


Also, sorry it's been awhile since my last post, but I was on my summer vacation and  have been very busy getting ready for my move back to Canada. I will have a post soon regarding miniatures while on vacation. I met a wonderful fellow miniaturist and had a fantastic time working with minis, so stay tuned!
 
Although I will miss Korea immensely, I am excited to get home for mini reasons! I have some things in store plus I will be doing more blog posts! Lot's of projects!
 
Stay tuned!